|
 |
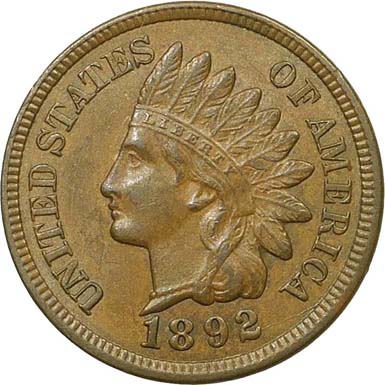
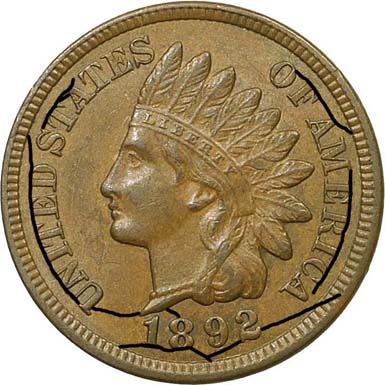
Obverse 19 |
Reverse S |
Obverse Diagnostics
 Date Position |
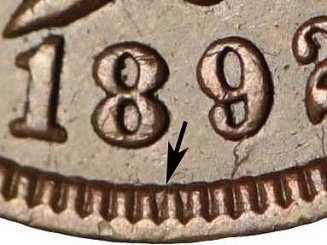 Die Crack from 7:00 |
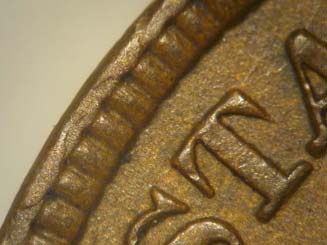
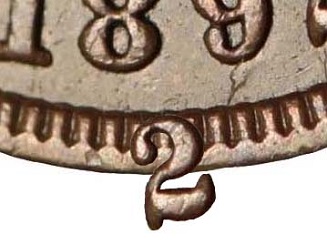 Misplaced 2 Digit Location and Orientation |
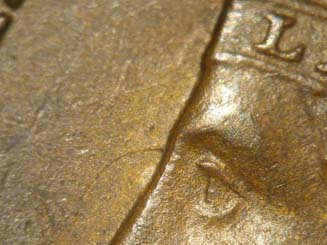 Clash Marrk In Front Of Eye |
 Obverse 19.2 Rim Breaks Between 9:45 and 10:00 |
Obverse 19.2 Die Crack Mapping
Reverse diagnostics

Clash Mark Through (C)ENT
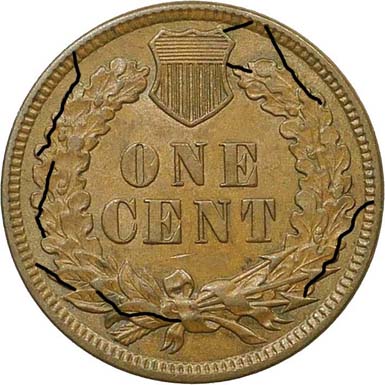
Reverse S.2 Die Crack Mapping